This describes how to install an Eclipse IDE ready to create scout Applications.
Get the Package
Before you download Scout make sure that you have a working Java Development Kit (JDK) of version 7 or 8. To download Eclipse Scout visit the official Eclipse download page.
The download page then looks as shown in Figure 1. If the download page shows the wrong platform, manually select the correct platform in the dropdown list.
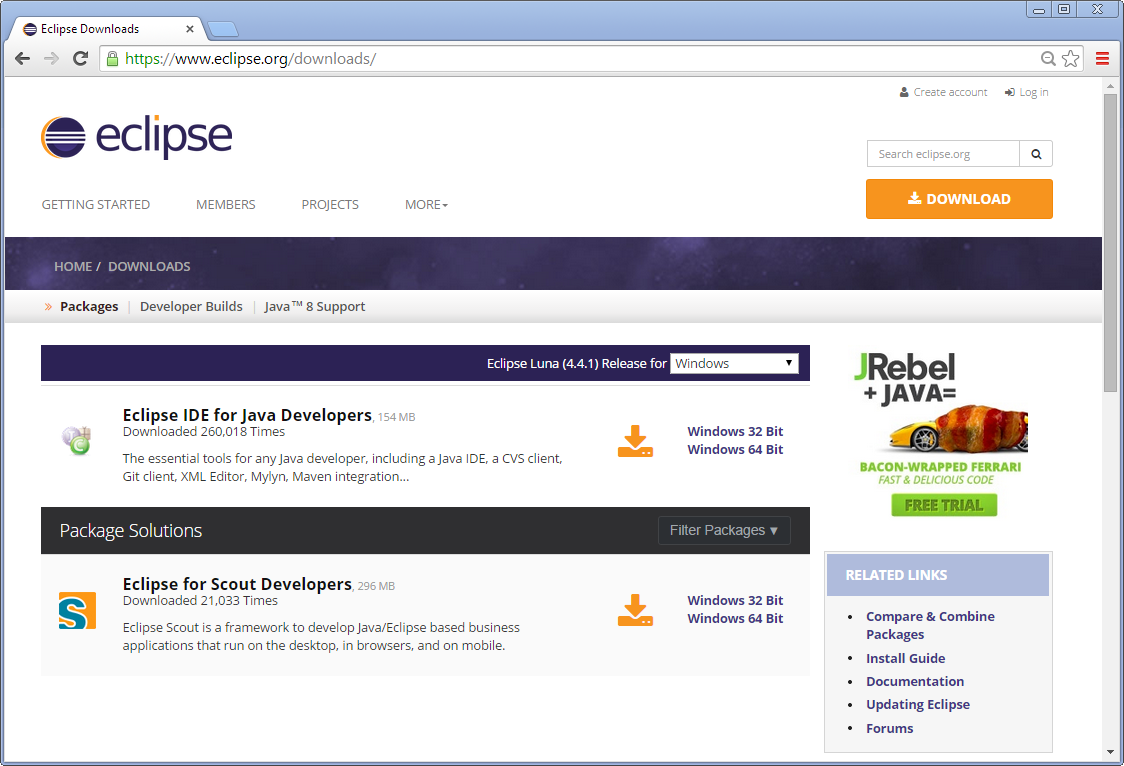
The Eclipse Scout package is available in the form of a 32 bit and a 64 bit package as shown inFigure 1. To download the correct package, make sure to matche your JDK installation. You can check your installation on the command line as follows.
console-prompt>java -version
java version "1.7.0_55"
Java(TM) SE Runtime Environment (build 1.7.0_55-b13)
Java HotSpot(TM) 64-Bit Server VM (build 24.55-b03, mixed mode)
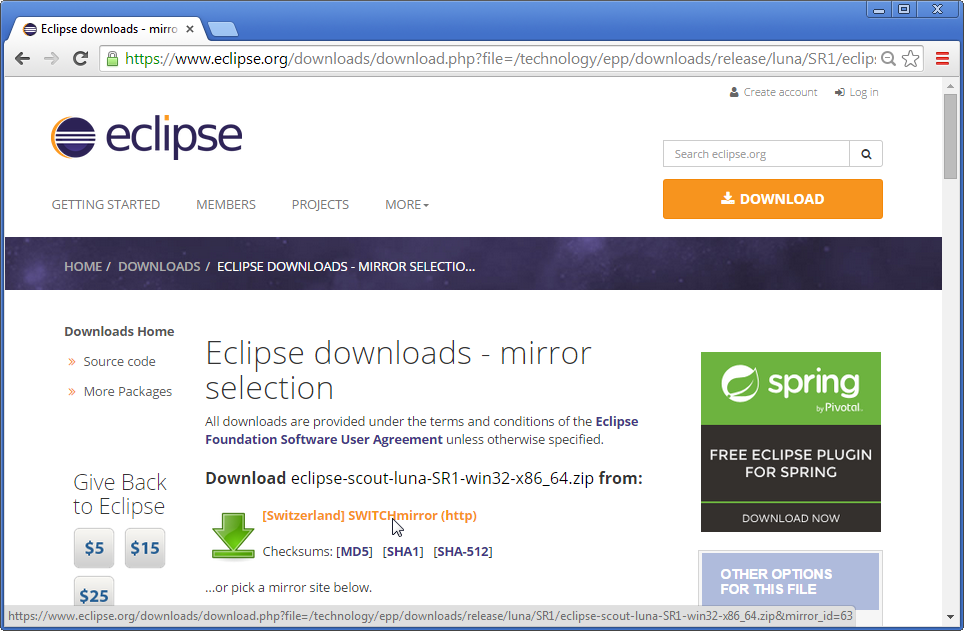
If the output explicitly mentions the 64 bit installation as shown in the example above, you have a 64 bit installation and you need to download the 64 bit Eclipse Scout package. Otherwise, you have a 32 bit JDK installed and you need to pick the 32 bit package of Eclipse Scout. After the package selection, confirm the suggested download mirror as shown in Figure 2.
Install Scout
As the Scout package is a simple ZIP (or tar.gz) file, you may unpack its content to a folder of your choice. Inside the eclipse sub-folder, you will then find the Eclipse executable file, such as the eclipse.exe file on a Windows plattform. Starting the Eclipse executable brings up the workspace launcher as shown in Figure 3.
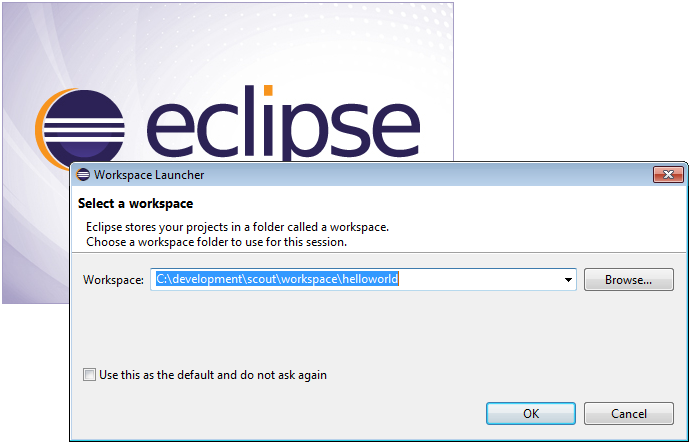
Into the Workspace field you enter an empty target directory for your first Scout project. After clicking the Ok button, the Eclipse IDE creates any directories that do not yet exist and opens the specified workspace. When opening a new workspace for the first time, Eclipse then displays the welcome screen shown in Figure 4.
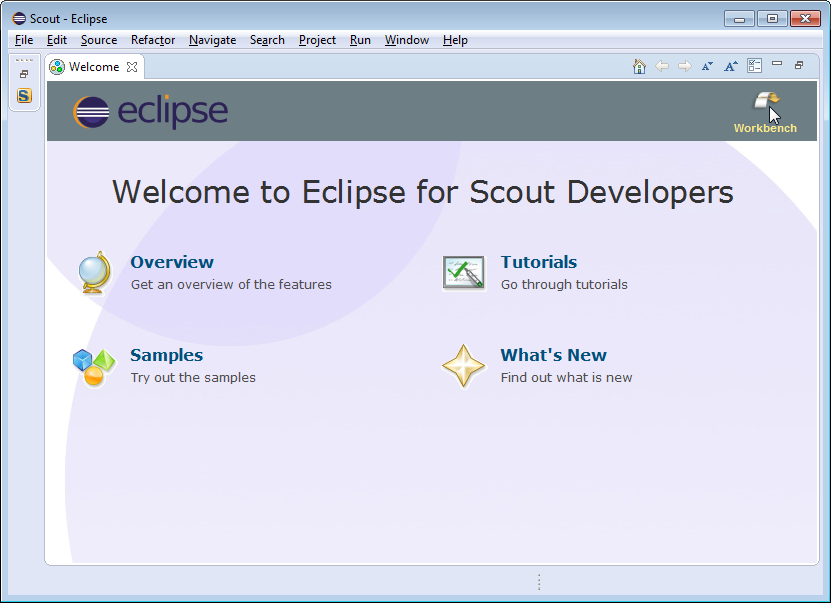
To close the welcome page and open the Scout perspective in the Eclipse IDE click on the Workbench icon. As a result the empty Scout perspective is displayed according to Figure 5.
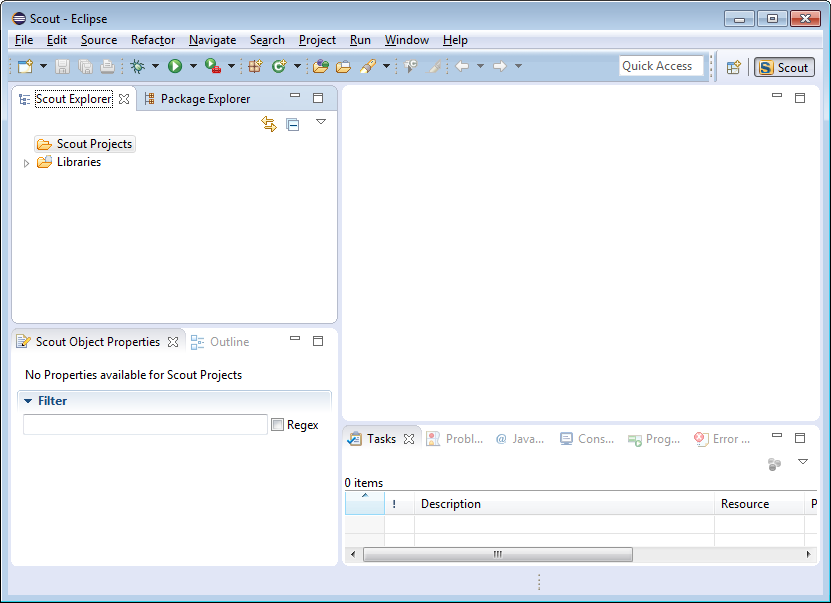
Congratulations, you just have successfully completed the Eclipse Scout installation!