|
This document is referring to a past Scout release. Please click here for the recent version. Looking for something else? Visit https://eclipsescout.github.io for all Scout related documentation. |
After installing the Eclipse Scout package you are now ready to create your first Scout application.
Create a Scout Project
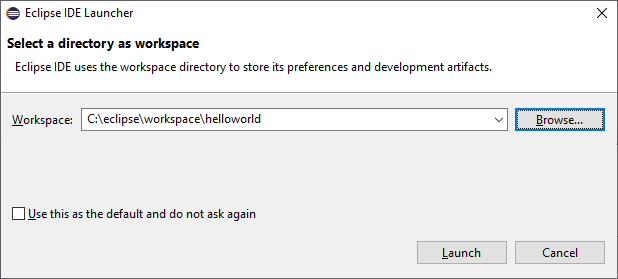
Start your Eclipse IDE and select an empty directory for your workspace as shown in Figure 1.
This workspace directory will then hold all the project code for the Hello World application.
Once the Eclipse IDE is running it will show the Java perspective.
To create a new Scout project select the menu and type “Scout Project” in the wizard search field. Select the Scout Project wizard and press Next. The New Scout Project wizard is then started as shown in Figure 2.
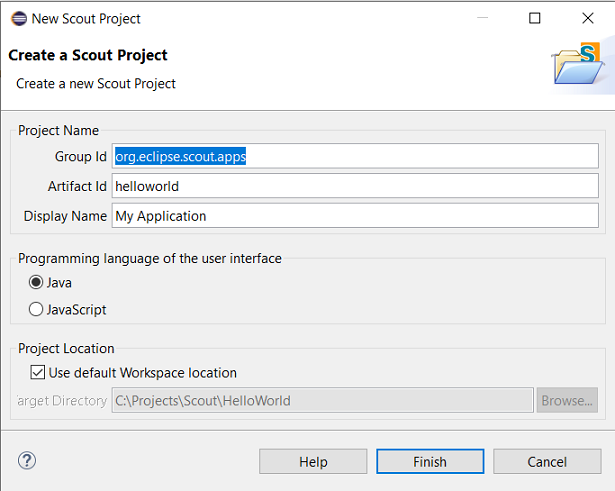
In the New Scout Project wizard you have to enter a group id, artifact id and a display name for your Scout project.
As the created project will make use of Apache Maven please refer to the Maven naming conventions to choose group id and artifact id for your project.
The artifact id will then also be the project name in the Eclipse workspace.
The display name is used as the application name presented to the user (e.g. in the Browser title bar).
For the Hello World application just use the already prefilled values as sown in Figure 2.
Then, click the Finish button to let the Scout SDK create the initial project code for you.
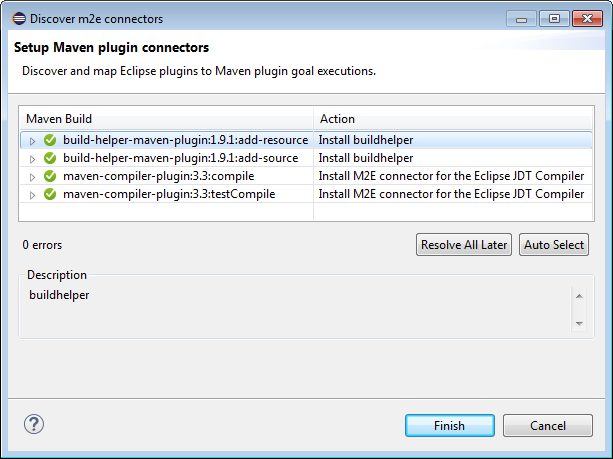
Depending on your Eclipse installation some Maven plugin connectors may be missing initially.
In that case a dialog as shown in Figure 3 may be shown.
To continue click on Finish to resolve the selected connectors.
Afterwards confirm the installation, accept the license and the message that some content has not been signed.
Finally, the installation of the maven plugin connectors requires a restart of the Eclipse IDE.
After the New Scout Project wizard has created the initial Maven modules for the Hello World application these modules are compiled and built by the Eclipse IDE.
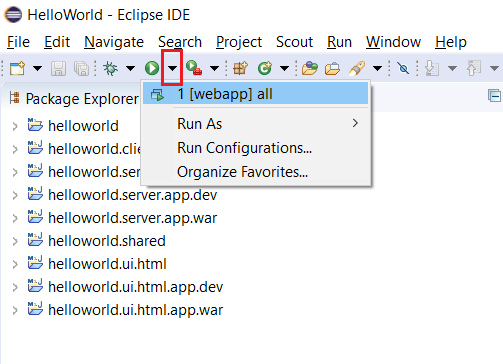
In case of a successful Eclipse Scout installation your Eclipse IDE should display all created Maven modules in the Package Explorer and have an empty Problems view as shown in Figure 4.

You need to adjust the Maven build if Java 9 is the minimal required version of your project. Open helloworld/pom.xml (replace helloworld with the artifact id you chose earlier) and add <master_signatureCheck_skip>true</master_signatureCheck_skip> to the <properties>-element. Note: the minimal required Java version is declared by property jdk.source.version within the very same <properties>-element.
|
Run the Application
After the initial project creation step we can try to start the Scout application for the first time. Since the Hello World app consists of a backend and a frontend, we need to start two servers, one for the backend and one for the frontend. We also need to launch the JavaScript build that creates the JS and CSS bundles which will be served by the frontend server. We could start each launch configuration separately, but for the sake of convenience there is a launch group available which starts all at once.
To start the launch group we use the Run As menu as shown in Figure 5.
Because the JavaScript build needs a Node.js installation, the launching will fail if Node.js is not installed, see Figure 6

If that is the case, we need to install a recent Node.js version. To do this, we visit the official download page https://nodejs.org/en/, download the LTS version for our platform and install it.
| The installation process could also fail if the installed Node.js is too old. Scout requires at least Node.js 12.1.0. |
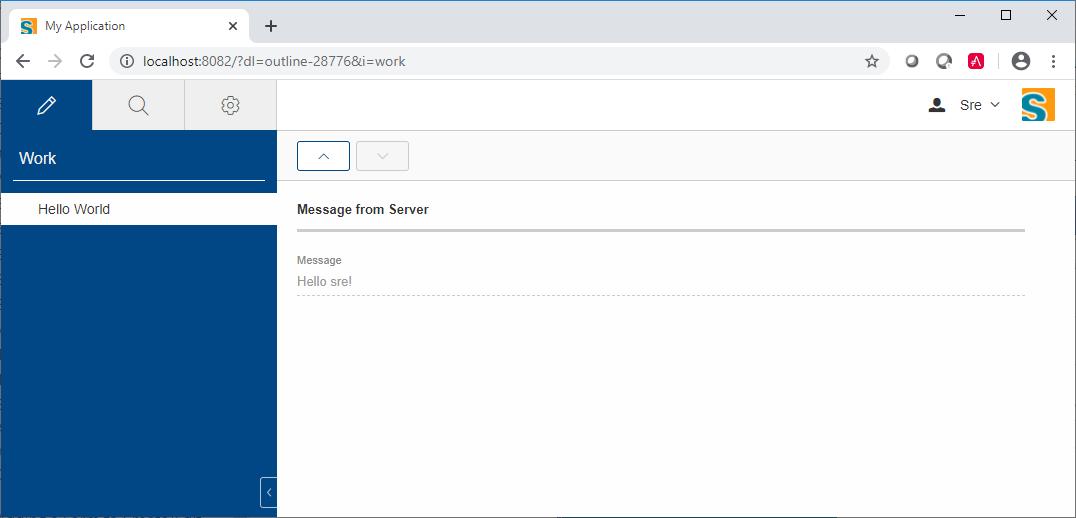
After Node.js has been installed, we can try to launch the application again using the Run as menu we used before. This time you should see console output providing information about the JS build process. Once the JS build has been completed successfully, the frontend and backend servers will be started automatically. The servers are ready as soon as the console shows Server ready. We can now access the Hello World application by navigating to http://localhost:8082 in our favorite web browser.
The running Hello World application should then be started in your browser as shown in Figure 7.
What’s Next?
Now that you have successfully created your first Scout application, you might want to learn more about Scout. To gain experience with Scout we recommend looking at the beginner’s guide.
If you are interested in Scout’s concepts, architecture and features you probably want to have a look a the technical guide. For this, we are writing the Scout books.
In case you should get stuck somewhere and need help, try to get answers by searching the web. And if despite reasonable efforts this approach does not help, contact us on the forum. Should you have solved issues on your own, please consider sharing your findings in the Scout forum as this can help other folks too.
We wish you all the best on your journey with Scout and hope to hear from you in the Scout forum.
| Do you want to improve this document? Have a look at the sources on GitHub. |