|
This document is referring to a past Scout release. Please click here for the recent version. Looking for something else? Visit https://eclipsescout.github.io for all Scout related documentation. |
This document describes how to install an Eclipse IDE ready to create Scout applications. The text below assumes that you are working with a windows box. The installation process does not differ much for other platforms.
Get the Package
Prerequisites
JDK
Before you download Scout make sure that you have a working Java Development Kit (JDK) installation. In case you first need to download and install a JDK we recommend to work with the Open JDK.
To verify your Java installation use your command line.
C:\>java -version
openjdk version "11.0.1" 2018-10-16
OpenJDK Runtime Environment 18.9 (build 11.0.1+13)
OpenJDK 64-Bit Server VM 18.9 (build 11.0.1+13, mixed mode)
We recommend to use Java 11. Please make sure you use the 64-bit version of the JDK. In case your version text does not explicitly mention a 64-bit version your JDK is a 32-bit installation.
Node.js
Beside the JDK, you also need a recent Node.js installation. Scout requires at least version 12.1.0, so if you don’t have a node installation or only an old one, go to https://nodejs.org/, download the LTS build for your platform and install it.
Also make sure the Node.js installation is on the PATH. You can verify it by using your command line.
c:\>node --version
v12.12.0
Download Scout
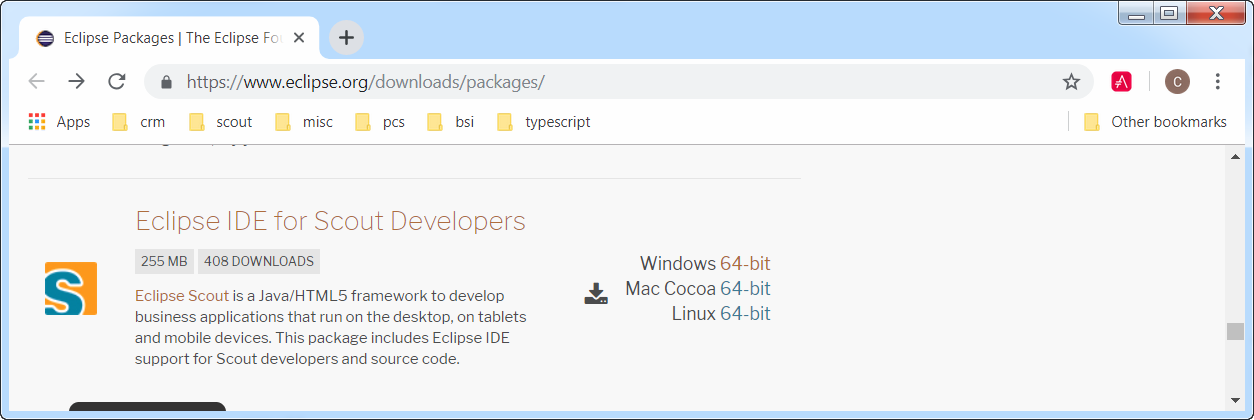
Download the Eclipse Scout package by visiting the official Eclipse download page.
The download page lists all available Eclipse packages. Scroll to the package "Eclipse IDE for Scout Developers" and select the download for your preferred platform.
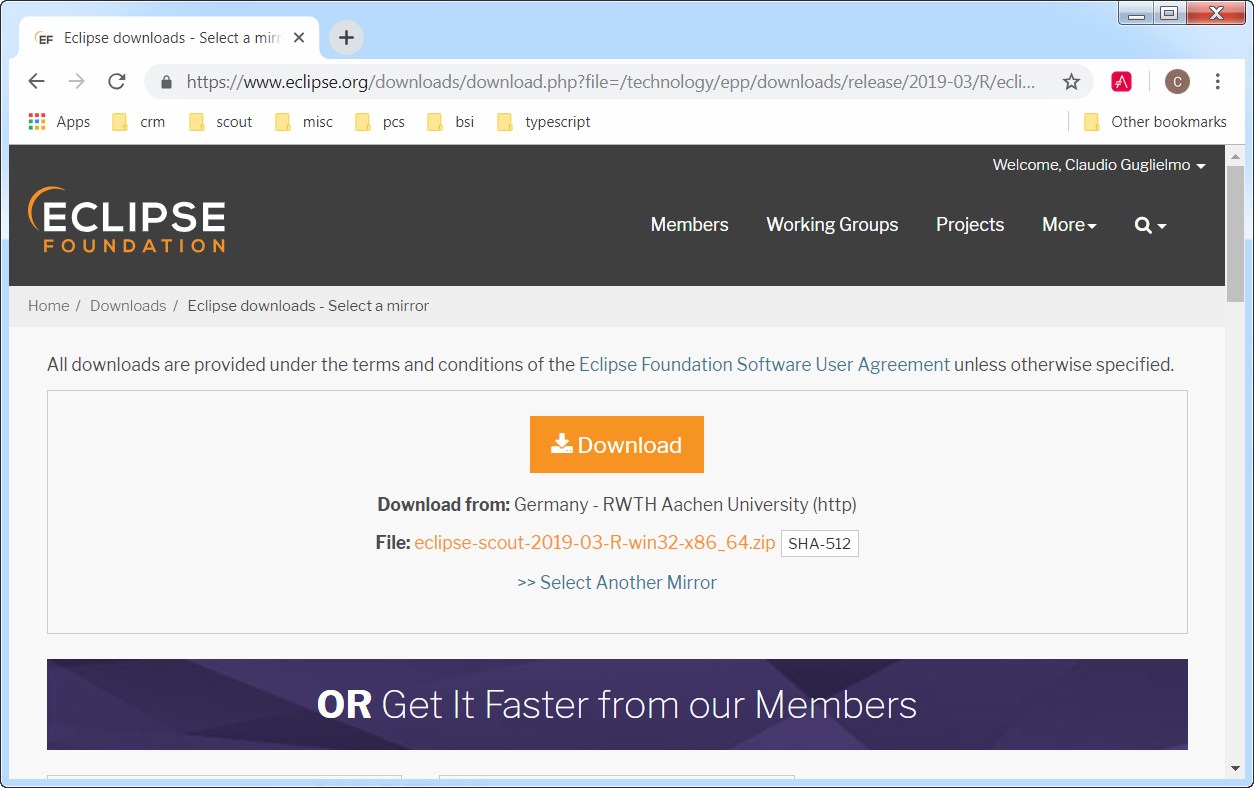
After the package selection, confirm the suggested download mirror as shown in Figure 2.
Install Scout
As the Scout package is a simple ZIP (or tar.gz) file, you may unpack its content to a folder of your choice such as C:\eclipse_scout on a Windows box.
Inside the sub-folder eclipse you will find the eclipse.exe file.
This is the Eclipse IDE executable file.
Starting the Eclipse executable brings up the workspace launcher as shown in Figure 3.
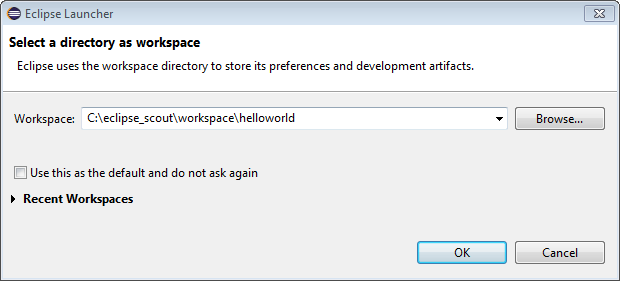
Into the Workspace field you enter an empty target directory for your first Scout project. After clicking the Ok button, the Eclipse IDE creates any directories that do not yet exist and opens the specified workspace. When opening a new workspace for the first time, Eclipse then displays the welcome screen shown in Figure 4.
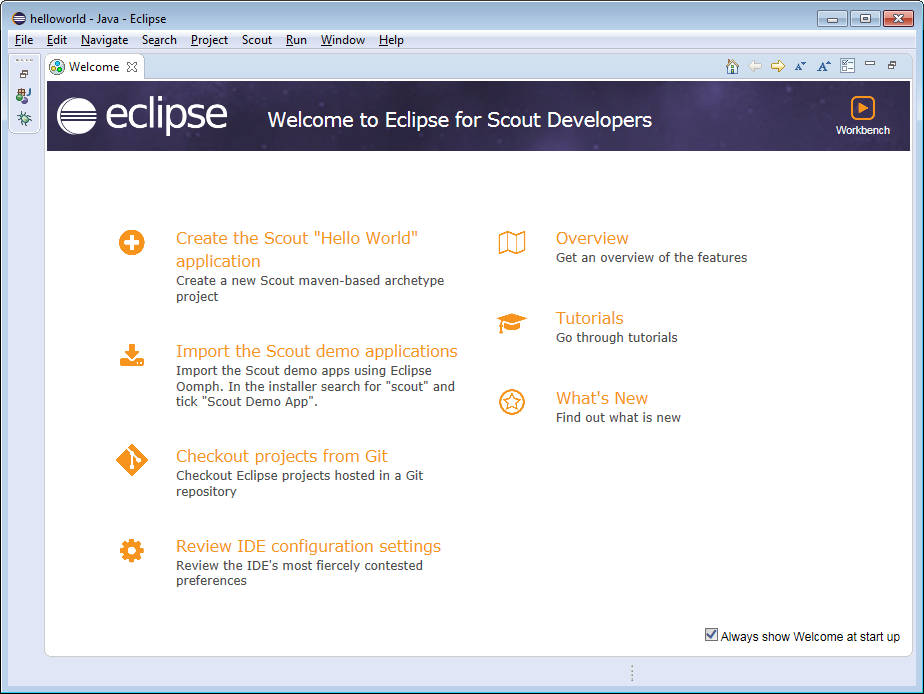
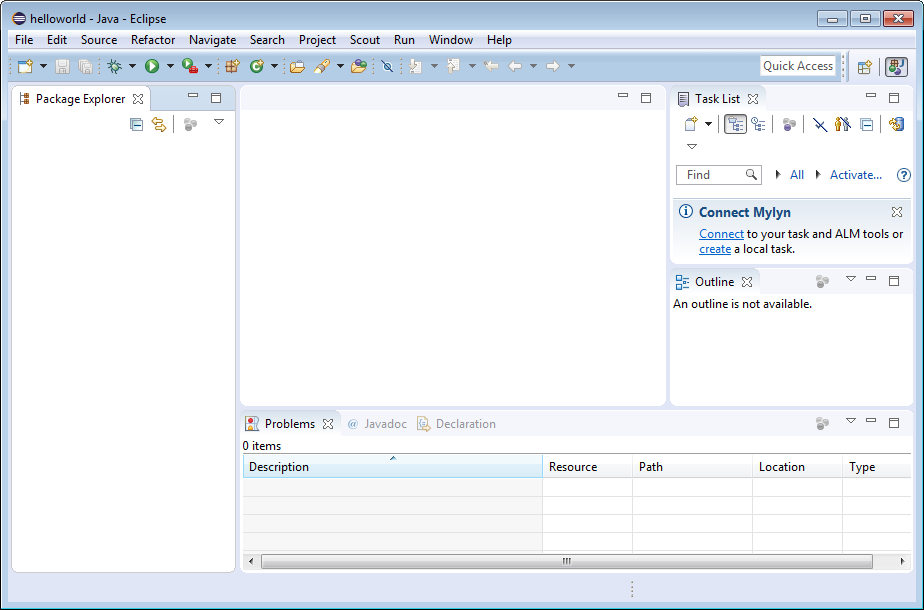
To close the welcome page click on the Workbench icon in the top right corner. As a result the empty Java perspective is displayed according to Figure 5.
Congratulations, you just have successfully completed the Eclipse Scout installation!
What’s Next?
With your working Scout installation you are now ready to create your first Scout application. Go ahead and follow the ‘Hello World!’ tutorial.
| Do you want to improve this document? Have a look at the sources on GitHub. |